Installing all your (management) apps on a new system always takes too much time. In this blog post, I will show you how to use PowerShell and the WinGet Client module to install them quickly.
What does the PowerShell WinGet client do?
It’s the PowerShell module version of the regular winget.exe client (Windows Package Manager). It contains cmdlets that interact with the Windows Package Manager, which makes it easier to script. For more information, you can read my blog post from last year about it here: https://powershellisfun.com/2024/11/28/using-the-powershell-winget-module/.
How to install the WinGet PowerShell module
In the early preview versions, you had to install the module by downloading the files and importing them manually. This has changed to the standard installation method, and you can install it now by running the following:
Install-Module -Name Microsoft.WinGet.Client
Import-Module -Name Microsoft.WinGet.Client
Exporting installed software from your current system
This blog post was written because I reset my Windows 365 Cloud PC and wanted the same software I ran on my laptop that was installed there, too. The Windows 365 Cloud PC is managed by Microsoft Intune, of course, but my company doesn’t have all the management software and tools that I need available from Intune 😉
To export all the installed software from your system, you can run this command to export all the software that WinGet can manage to a file: (This requires Microsoft.WinGet.Client module to be installed on your system, of course, which you can do using the commands from the previous chapter)
(Get-WinGetPackage | Where-Object Source -eq winget).Id | Sort-Object | Out-File c:\temp\WinGetApps.txt
If you edit the list using Notepad or similar, you can see all the software components:
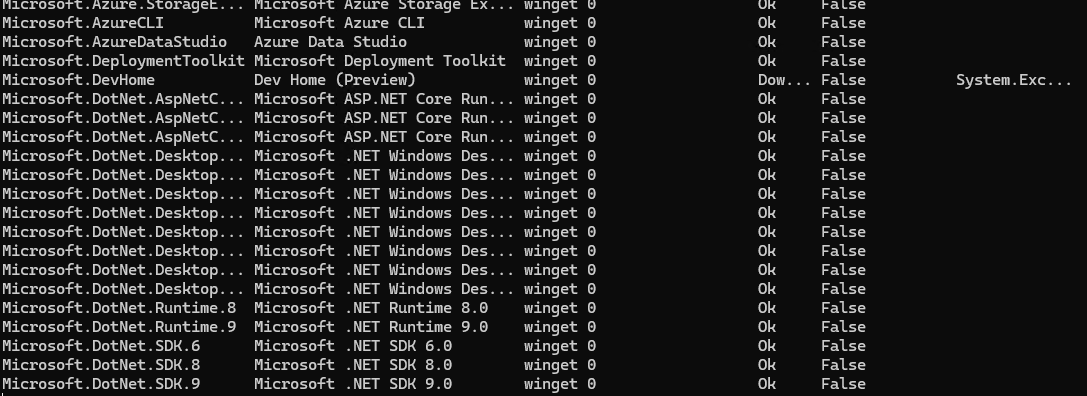
7zip.7zip
Adobe.Acrobat.Reader.32-bit
Brave.Brave
Devolutions.RemoteDesktopManager
Docker.DockerDesktop
Elgato.StreamDeck
Famatech.AdvancedIPScanner
Google.Chrome
Grammarly.Grammarly
Graphviz.Graphviz
Insecure.Nmap
JAMSoftware.TreeSize.Free
Lenovo.ServiceBridge
Lenovo.SystemUpdate
Logitech.GHUB
Logitech.LogiTune
Microsoft.AppInstaller
Microsoft.Azure.StorageExplorer
Microsoft.AzureCLI
Microsoft.AzureDataStudio
Microsoft.DeploymentToolkit
Microsoft.DevHome
Microsoft.DotNet.AspNetCore.8
Microsoft.DotNet.AspNetCore.9
Microsoft.DotNet.AspNetCore.9
Microsoft.DotNet.DesktopRuntime.3_1
Microsoft.DotNet.DesktopRuntime.5
Microsoft.DotNet.DesktopRuntime.6
Microsoft.DotNet.DesktopRuntime.7
Microsoft.DotNet.DesktopRuntime.8
...............................
I shortened it a bit (My system had 93 software items in total), but you can see all the software items. You can install all the items on the new system, but… I would recommend checking it and removing items like Elgato.StreamDeck, Lenovo.ServiceBridge, Logitech.GHUB, etc., because my Windows 365 Cloud PC doesn’t have a StreamDeck attached, it isn’t a Lenovo system, and it doesn’t have any use for the Logitech HUB application, for example. So, curate the list and save it before continuing to the next step 🙂 (WinGet will skip items already installed; some Microsoft components, for example, are usually already installed on the new system)
Installing software on the new system
Now that you have checked the WinGetApps.txt file and removed unnecessary items, you can copy it to the new system in c:\temp to use as input for WinGet. (Don’t forget to install the Microsoft.WinGet.Client Module before continuing 🙂 )
You can install all the software listed in the WinGetApps file by running (In an Administrative PowerShell prompt):
Get-Content C:\temp\WinGetApps.txt | foreach {Install-WinGetPackage -Id $_ -Source WinGet}
The Install-WinGetPackage cmdlet will loop through all the items from the WinGetApps.txt and install them on your system:
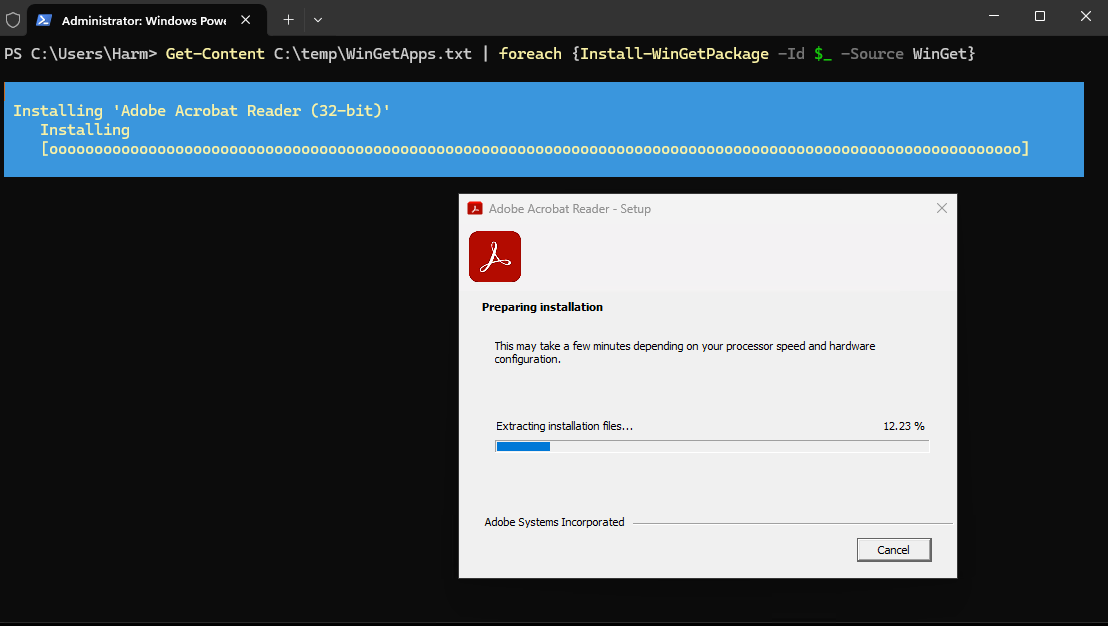
Depending on the amount of apps, this might take some time 😀 It will show the installation progress of the apps, and there might be apps that have an installation error 🙁
In the screenshot above, you can see that it couldn’t install DevHome.
Alternative WinGet.exe built-in solution
I like to use PowerShell, but WinGet also has its own export/import solution built into it. You can use this on your current system to export all the software items that you have installed:
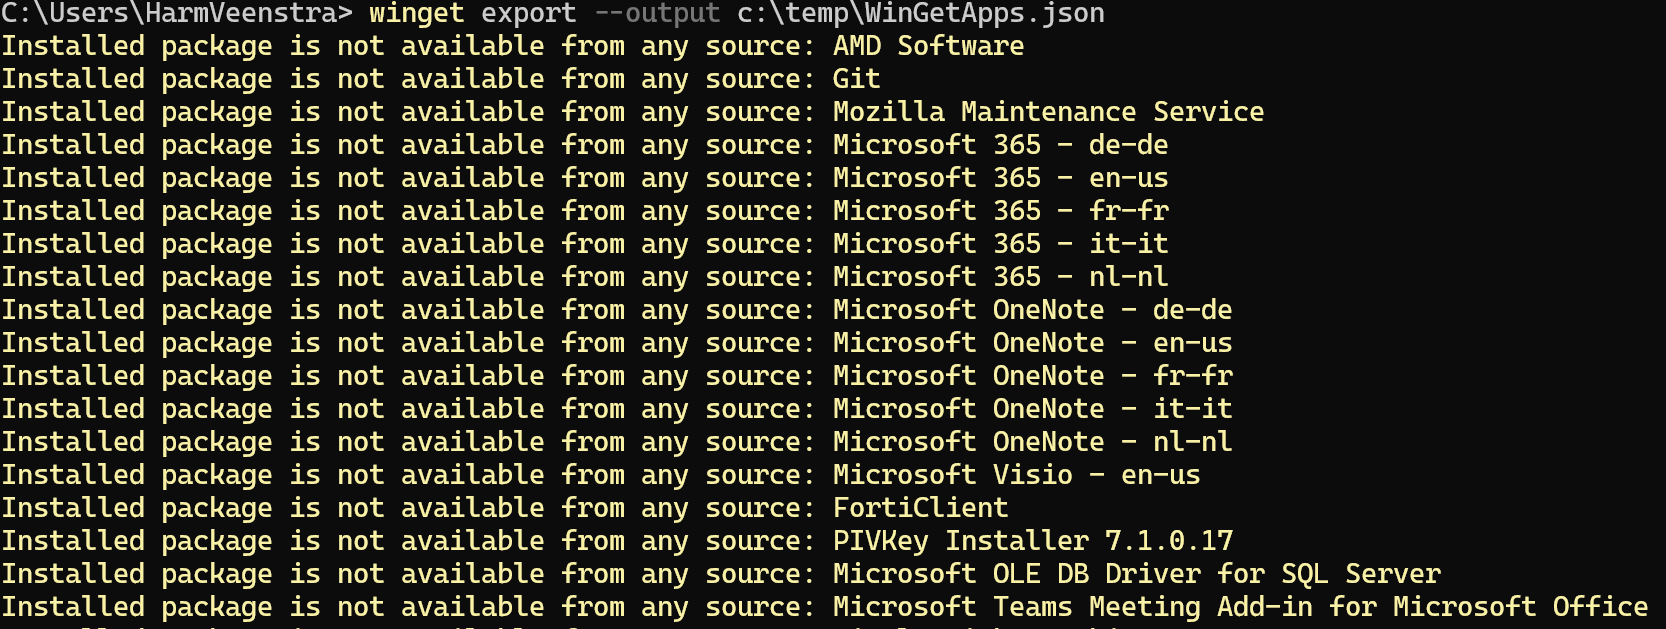
winget.exe export --output c:\temp\WinGetApps.json
This will export everything to c:\temp\WinGetApps.json and will show all the items that it can’t install, too:
The JSON file will look like this: (You can remove the items that you don’t need on the other system, of course)

On your new system, you can use this to install the items from the JSON file:
winget.exe import --import-file c:\temp\WinGetApps.json
Which will look like this:

Wrapping up
In this blog post, I showed you a simple way of exporting the currently installed software on system A using the Microsoft.WinGet.Client PowerShell Module, which you can then install on system B using that same Module. Alternatively, you can use the built-in export/import from WinGet.exe.
Using WinGet saves a lot of work 🙂 Have a lovely weekend!
Is it possible to perform the same action when upgrading an app installed by a user?
I think WinGet will get the software installed on the system and for the user you’re running the command in. If another user on that system installed it for that user only, then it will not see that.
But I’d it’s only upgrading, not installing, you could use Update-WinGetPackage to do that when logged in as the user?
I love winget, the issue I am having is when it upgrades/updates or you may want to install from the start, how do you customize the app for deployment. Like mst to modify application settings. Once I have that life would be golden
When installing applications from the WinGet repository, you will get the basic Next, Next, Finish installation. You can use the -Override Parameter however to specify installation Parameters if supported. Check https://winaero.com/install-a-winget-app-with-custom-arguments-and-command-line-switches/ for some examples