This is something I do on my Windows company device, using WSL instances to develop PowerShell scripts. In this blog post, I will show you how it works and how to set it up.
What is WSL?
“Windows Subsystem for Linux (WSL) is a feature of Windows that allows you to run a Linux environment on your Windows machine, without the need for a separate virtual machine or dual booting. WSL is designed to provide a seamless, productive experience for developers who want to run Windows and Linux simultaneously.
- Use WSL to install and run Linux distributions, including Ubuntu, Debian, Kali, and more. Install Linux distributions and receive automatic updates from the Microsoft Store, import Linux distributions not available in the Microsoft Store, or build your own custom Linux distribution.
- Store files in an isolated Linux file system, specific to the installed distribution.
- Run command-line tools, such as BASH.
- Run common BASH command-line tools such as
grep,sed,awk, or other ELF-64 binaries. - Run Bash scripts and GNU/Linux command-line applications, including:
- Tools: vim, emacs, tmux
- Languages: NodeJS, JavaScript, Python, Ruby, C/C++, C# & F#, Rust, Go, etc.
- Services: SSHD, MySQL, Apache, lighttpd, MongoDB, PostgreSQL.
- Install additional software using your own GNU/Linux distribution package manager.
- Invoke Windows applications using a Unix-like command-line shell.
- Invoke GNU/Linux applications on Windows.
- Run GNU/Linux graphical applications integrated directly into your Windows desktop
- Use your device GPU to accelerate Machine Learning workloads running on Linux.
WSL is an open-source tool with source code available for download and contributions:
WSL repository on GitHub: github.com/Microsoft/wsl
Learn more about WSL open source components
WSL Open Source docs site: wsl.dev. “
Source: What is Windows Subsystem for Linux | Microsoft Learn
Why use WSL for coding?
I did a DuPSUG session on this a few weeks ago, but it allows you to run scripts on Linux and keep them separate from your company device, which might restrict PowerShell use or module installation.
It’s also the same as running things in Azure pipelines, for example, in which you run code in Linux instead of Windows containers.
And… I like the speed of WSL and coding PowerShell compared to coding in Windows, feels snappier 🙂
Installing WSL on your Windows system
WSL can be installed on your Windows system, a lot easier than before, by running this in an Administrator command prompt:
wsl --install
wsl --set-default-version 2
This command enables the features required to run WSL. A reboot is required.
Note: Prerequisites are Windows 10 2004 or later (no longer supported but still functional) or Windows 11.
Adding a WSL Instance on your machine
You can use distributions from different vendors. I usually use the latest Ubuntu, which you can install on your system by running:
wsl --install Ubuntu
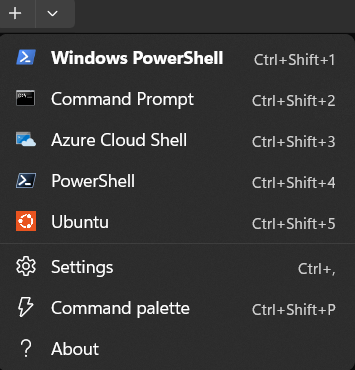
After installation, you will be prompted to create a username and password. You can run it as a tab in your Windows Terminal, after closing and reopening it, from the dropdown menu:
And at the same time, a “Welcome to Windows Subsystem for Linux” window will appear in which you can configure certain settings, but you will also see the VS Code Integration menu item on the left:
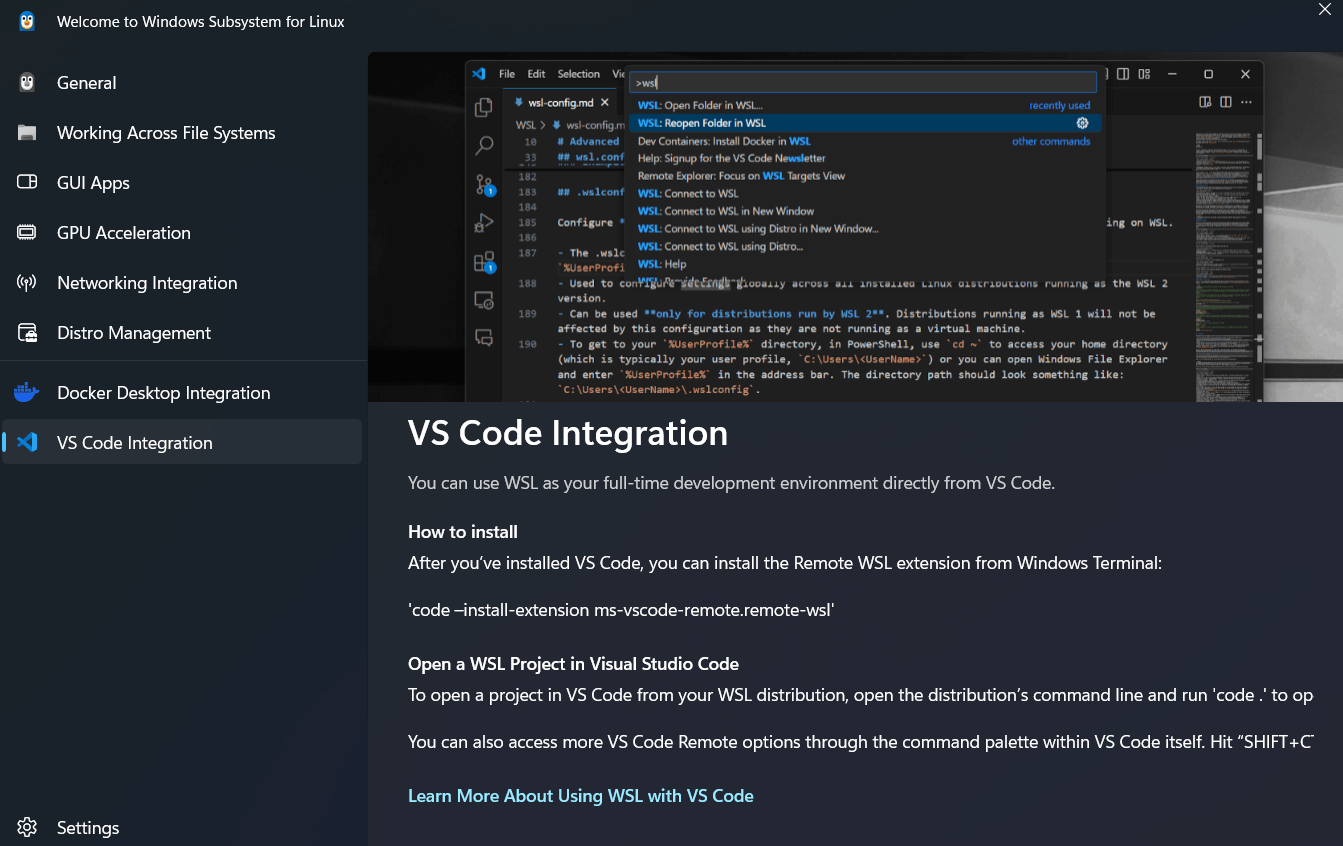
This already explains the next step, which I will describe in the chapters below 🙂
Connecting WSL to VSCode
As shown in the screenshot above, there are two ways to connect to your WSL Instance (Ubuntu in this example).
- Using code –install-extension ms-vscode-remote.remote-wsl
- Using code. in WSL session to open VSCode in the current directory
In the chapters below, I will show both and how they work.
Extension
When you use the install-extension option in Windows Terminal, it installs the extension required to connect to WSL instances. This will look like this:

If you already did that before, for example, by logging into VSCode and you already had that extension in your profile, then you will see this message:

After the extension is installed, you can connect your WSL instance in VSCode by selecting Remote Explorer on the left, selecting WSL Targets from the dropdown, selecting Ubuntu, and clicking the -> icon. This will install the agent, which VSCode will use to connect to your instance:

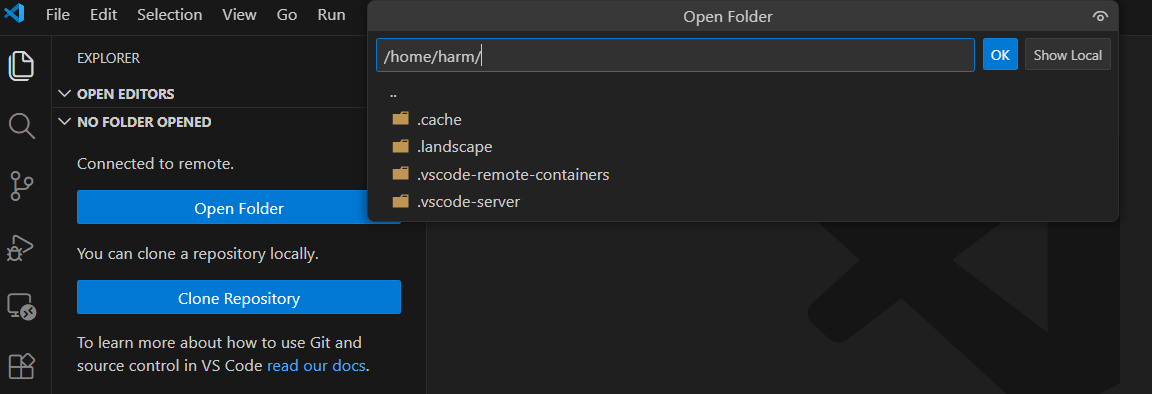
Select Open Folder and Ok to open the folder:
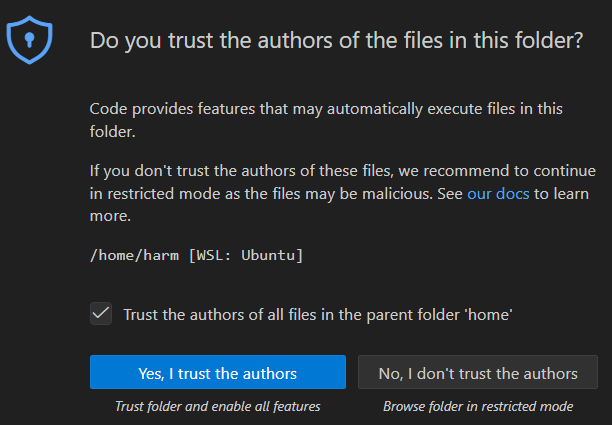
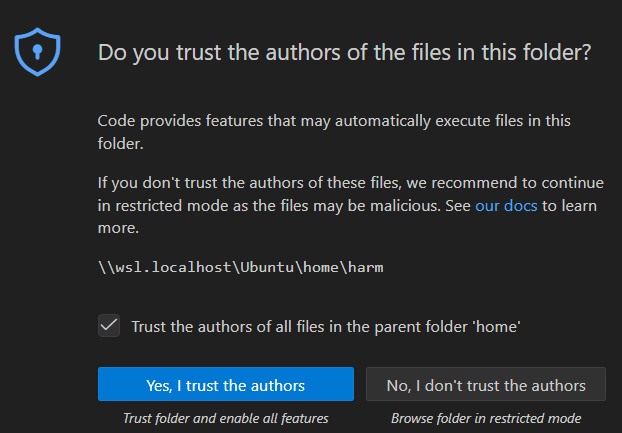
Select Trust the authors… and Yes, I trust the authors of all files… to continue:
Code command in WSL
In the screenshot below, I use code. to install the extension and immediately connect my VSCode to the WSL instance running:

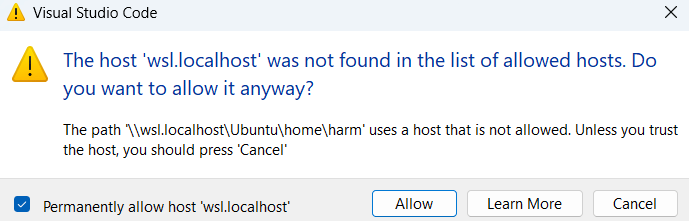
You might receive this message. You can choose Allow (And Permanentely allow host wsl.localhost if you would like to do so) to continue:
VSCode will start, Select Trust the authors… and Yes, I trust the authors of all files… to continue, and you’re connected to it 🙂
Installing PowerShell into a WSL instance
Linux distributions don’t install PowerShell v7 by default, and not every distribution supports it either. Check here for more information. In my case, Ubuntu is supported, and installing PowerShell on it is relatively easy, following this procedure.
Note: I did this on an Intel Core i9 system. For an ARM-based system, use the binary installation option as described here.
After installation, you can install your modules in the PowerShell v7 prompt (Start it by running pwsh). In this example, I installed the Microsoft.Graph modules:

Coding in VSCode in a WSL instance
Now that you have WSL installed, a Linux Distribution, connected that to VSCode, and installed some PowerShell modules, you can create a PS1 file, and VSCode will prompt you to install the PowerShell extension in the WSL instance:
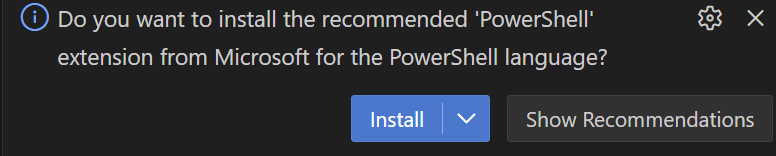
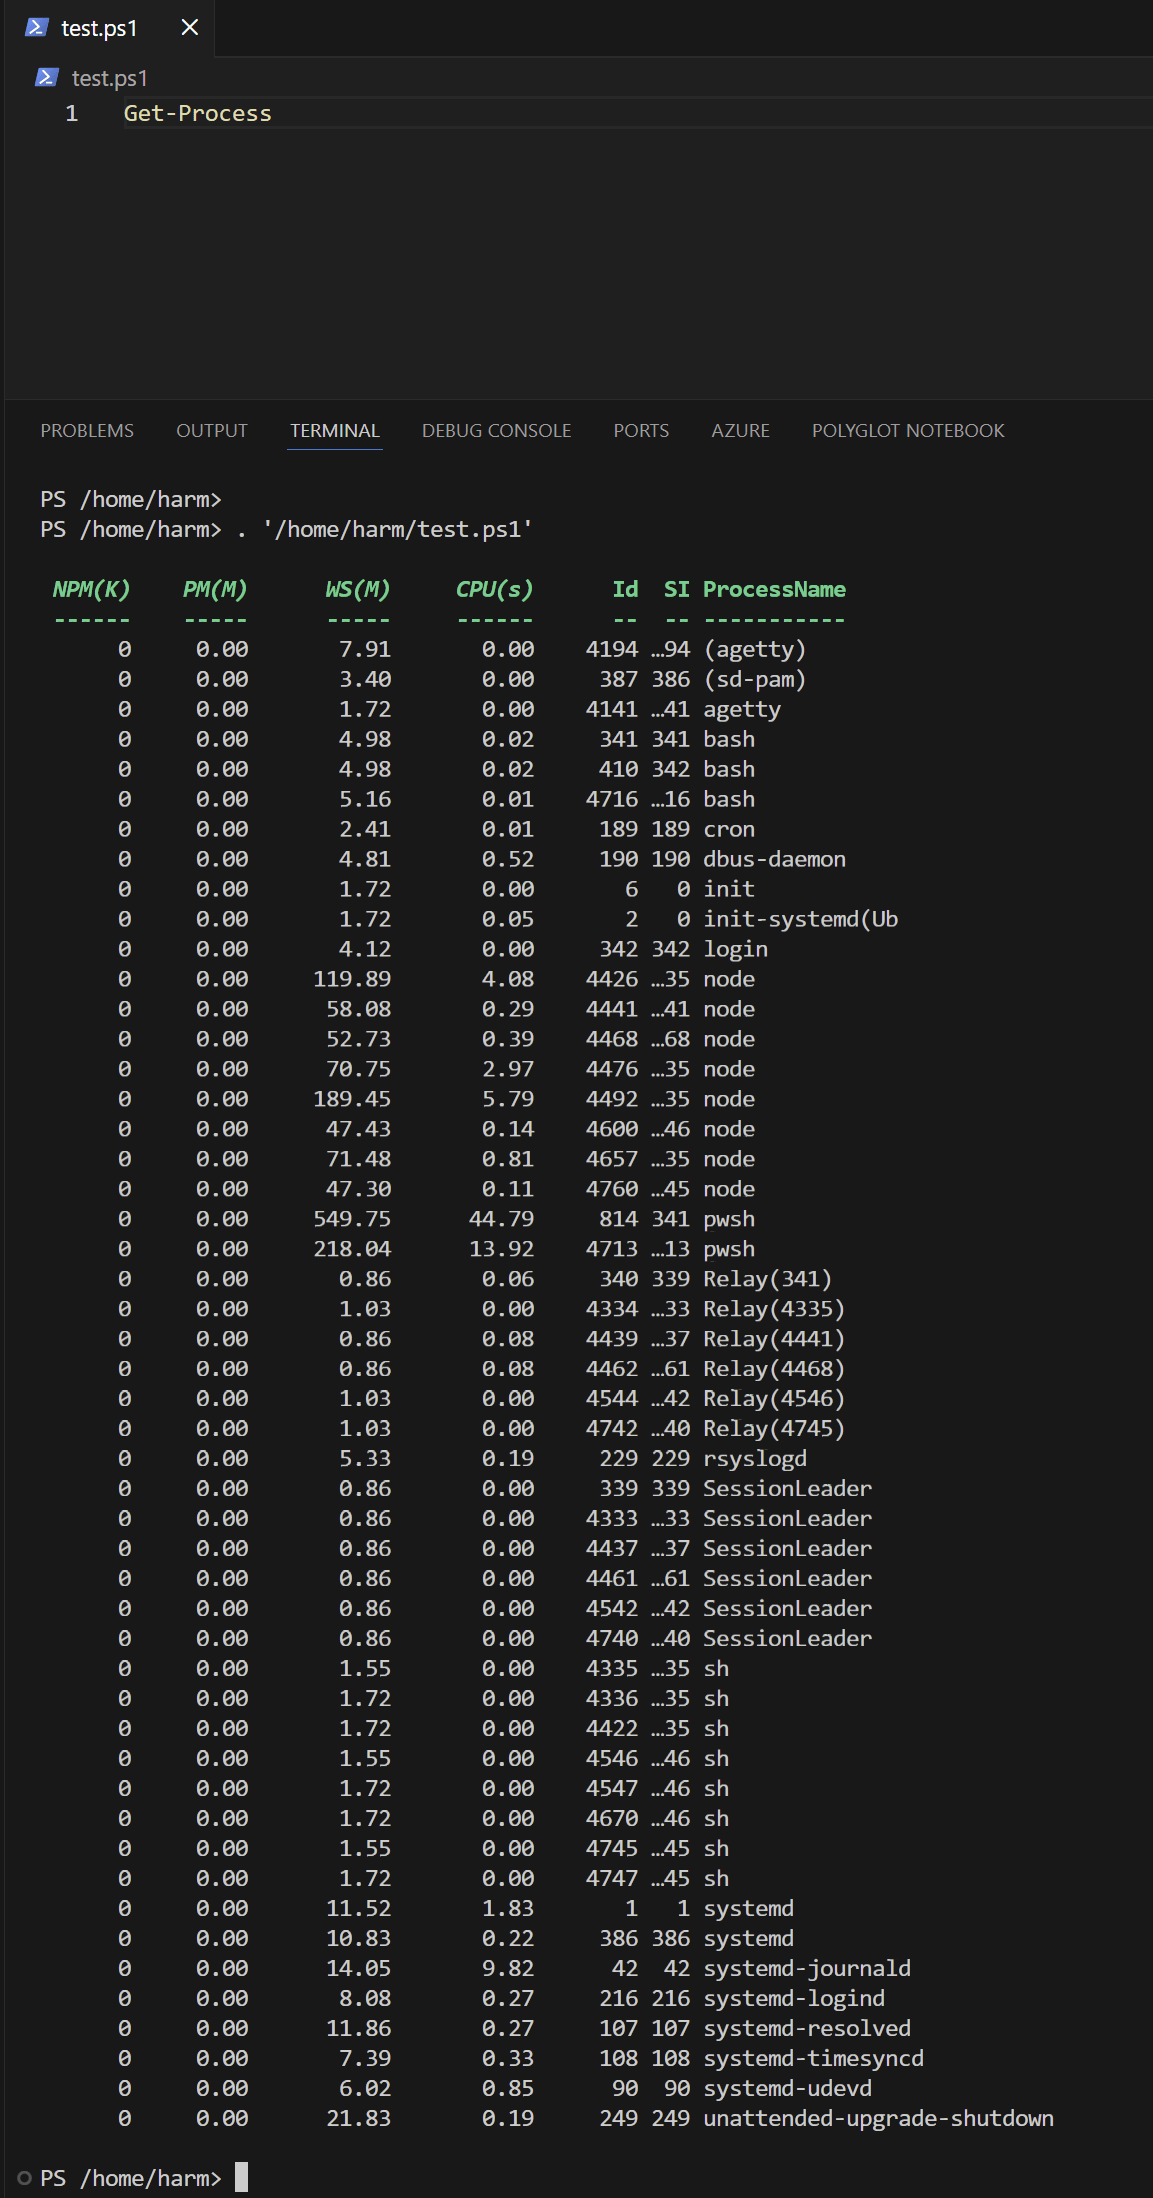
After selecting Install, you can start coding, and VSCode will understand your PowerShell Cmdlets and provide IntelliSense.
Cloning GitHub repositories
You can work on code in GitHub repositories, too, in WSL by pressing Ctrl-Shift-P, typing Git Clone, and following the steps:

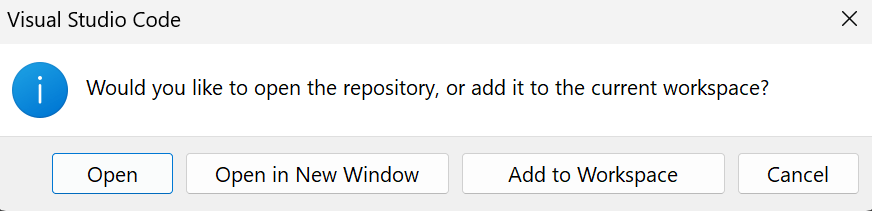
And, of course, I cloned my Repository in this example:

After selecting Open, you will see the contents:

Wrapping up
And that’s how you can code PowerShell scripts in a Linux container using WSL on your Windows Device 🙂 Have a lovely weekend!
One thought on “PowerShell coding in WSL using VSCode”