Yes, I’m a nerd, and nerds like to use NerdFonts 🙂 In this small blog post, I will show you how you can use the NerdFonts PowerShell module from Ryan L McIntyre.
What are Nerdfonts?
“Nerd Fonts is a project that patches developer targeted fonts with a high number of glyphs (icons). Specifically to add a high number of extra glyphs from popular ‘iconic fonts’ such as Font Awesome, Devicons, Octicons, and others.”
Source: https://github.com/ryanoasis/nerd-fonts/
How to install the NerdFonts module
You can install the module using:
Import-Module -Name NerdFonts
Or, if you have PSResouceGet installed:
Install-PSResource -Name NerdFonts
After installation, these Cmdlets are available:

(As you can see, the Get-NerdFonts and Install-NerdFonts are just aliases of the Get-NerdFont and Install-NerdFonts Function 😉 )
Using the NerdFonts Module
Retrieving available NerdFonts
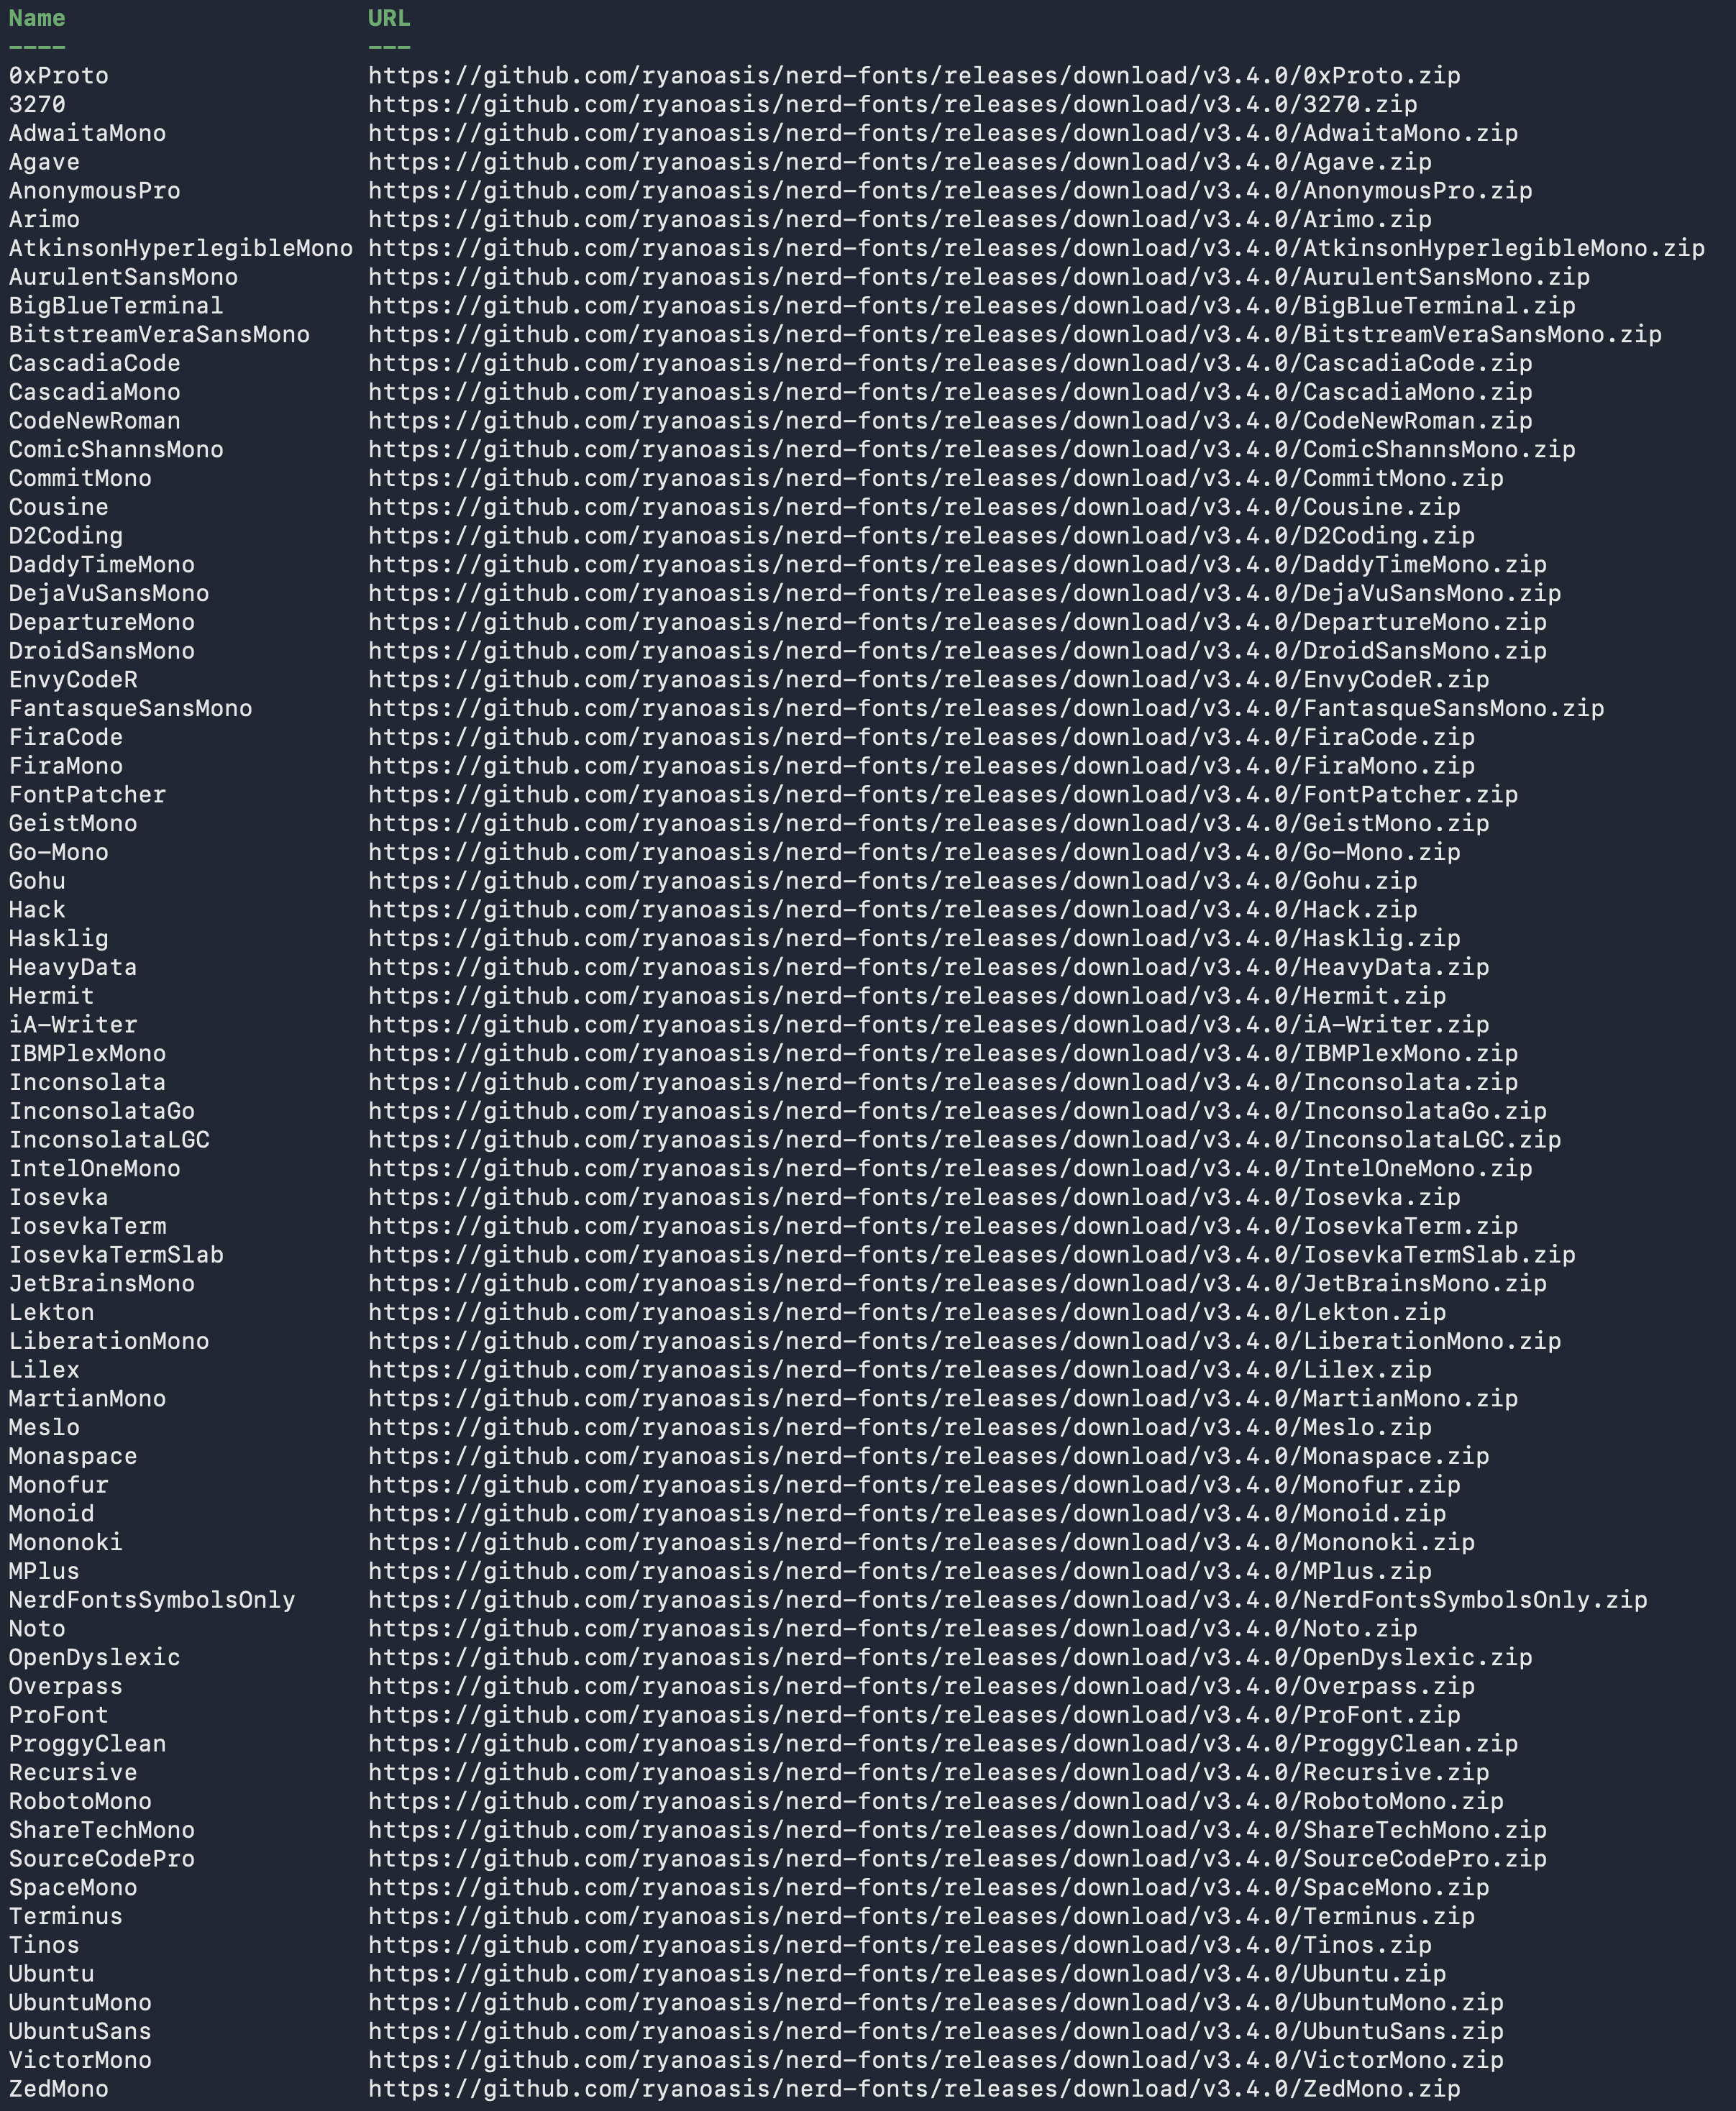
To get a list of all available NerdFonts that you can install, you can run the Get-NerdFont Cmdlet to display them all with the corresponding download link, should you want to manually download them without using the Install-NerdFont Cmdlet. This output will look like this:
To show the details for a specific one, you can use the -Name Parameter. For example:

Install one, multiple, or all NerdFonts
To install one, more, or all NerdFonts on your system (Compatible with Windows, Linux, macOS, PowerShell v7 or higher, and with sufficient admin rights), you can run this to install ZedMono and CascadiaMono NerdFonts, for example: (You can add one name or multiple if you separate them with a comma)
Install-NerdFont -Name CascadiaMono, ZedMono
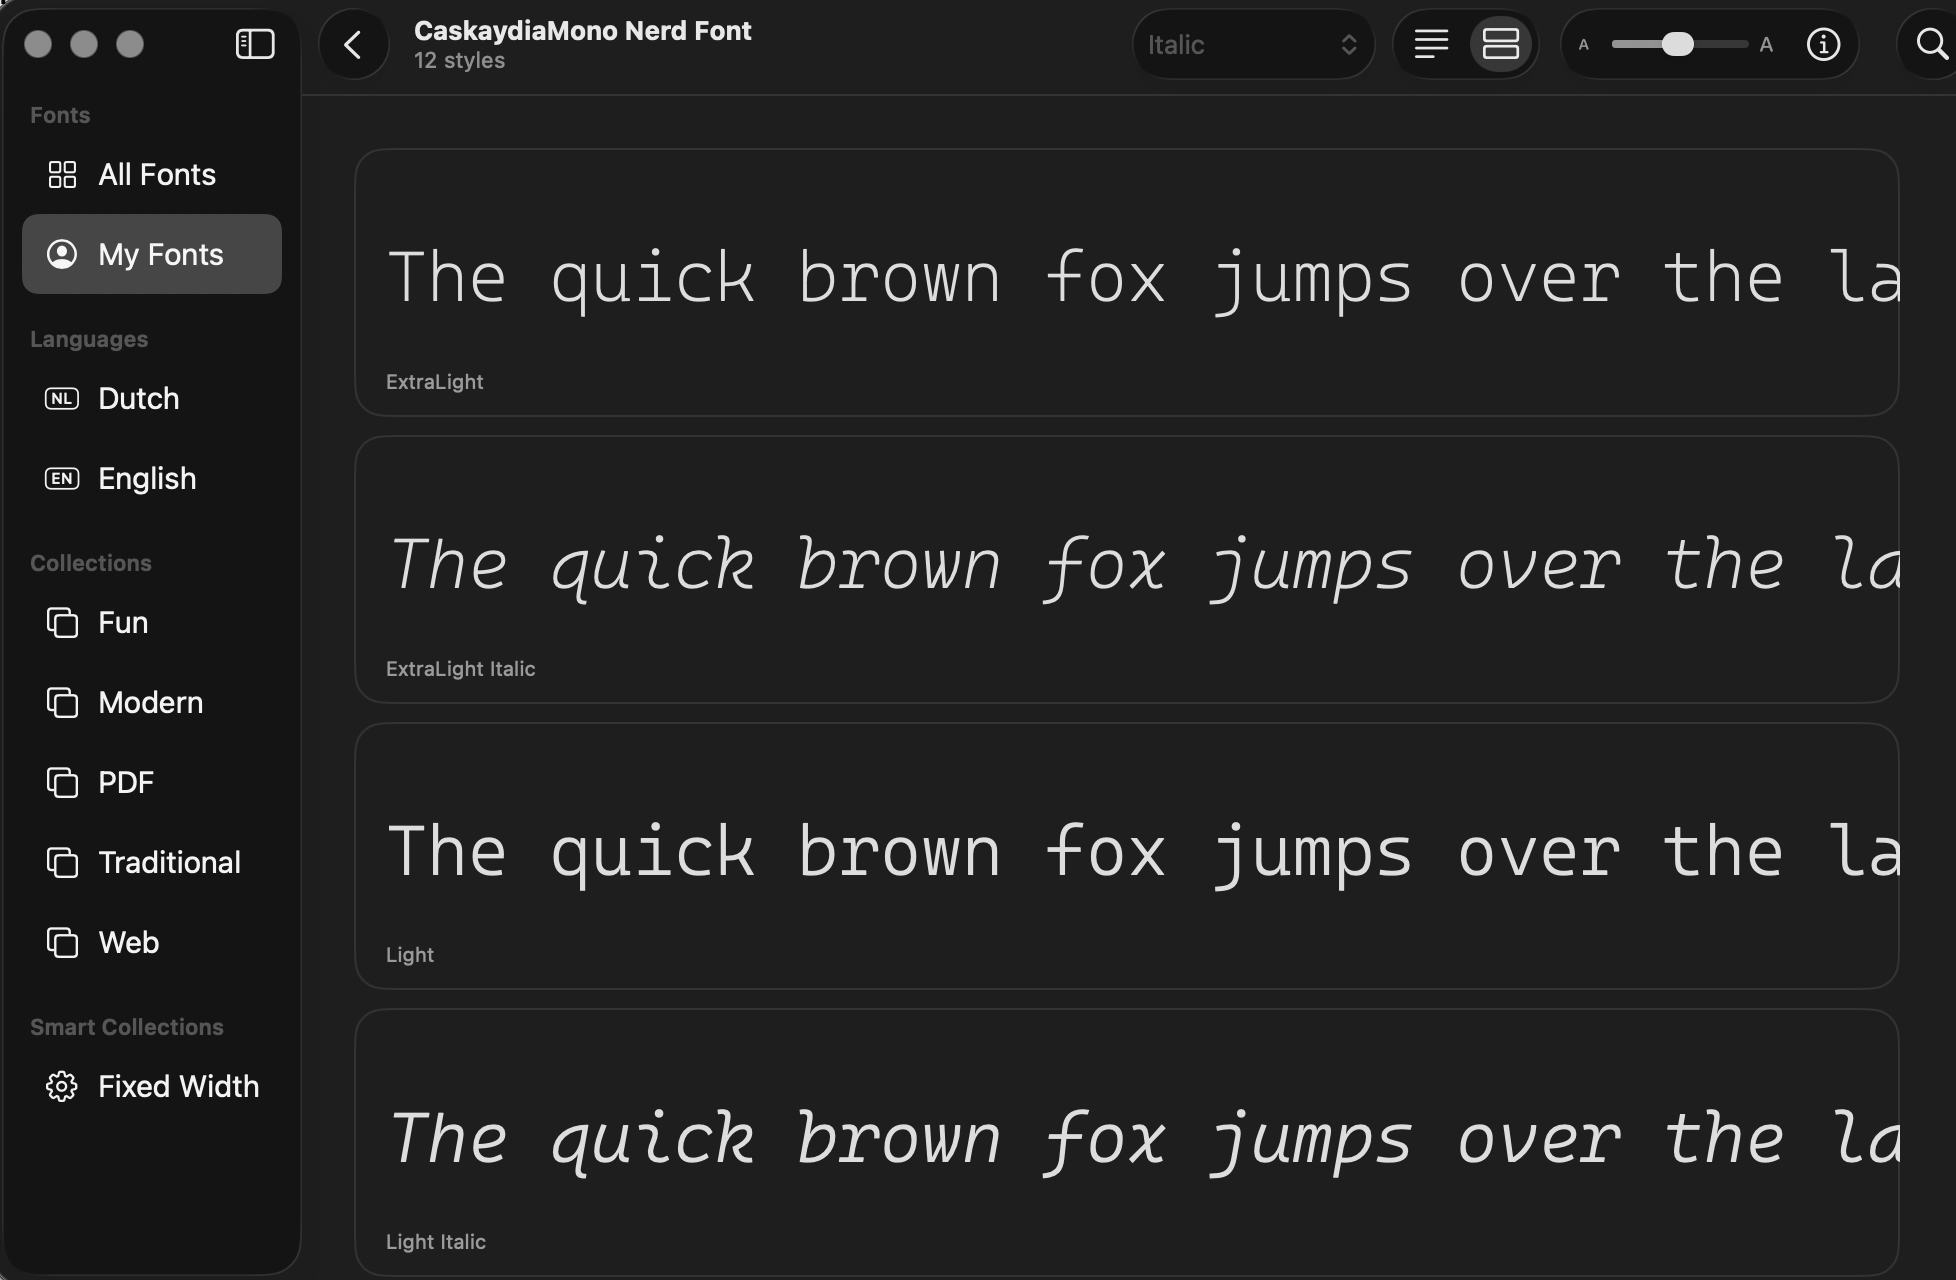
After installation, you should see them in your fonts list. For example, Cascadia Mono in macOS:
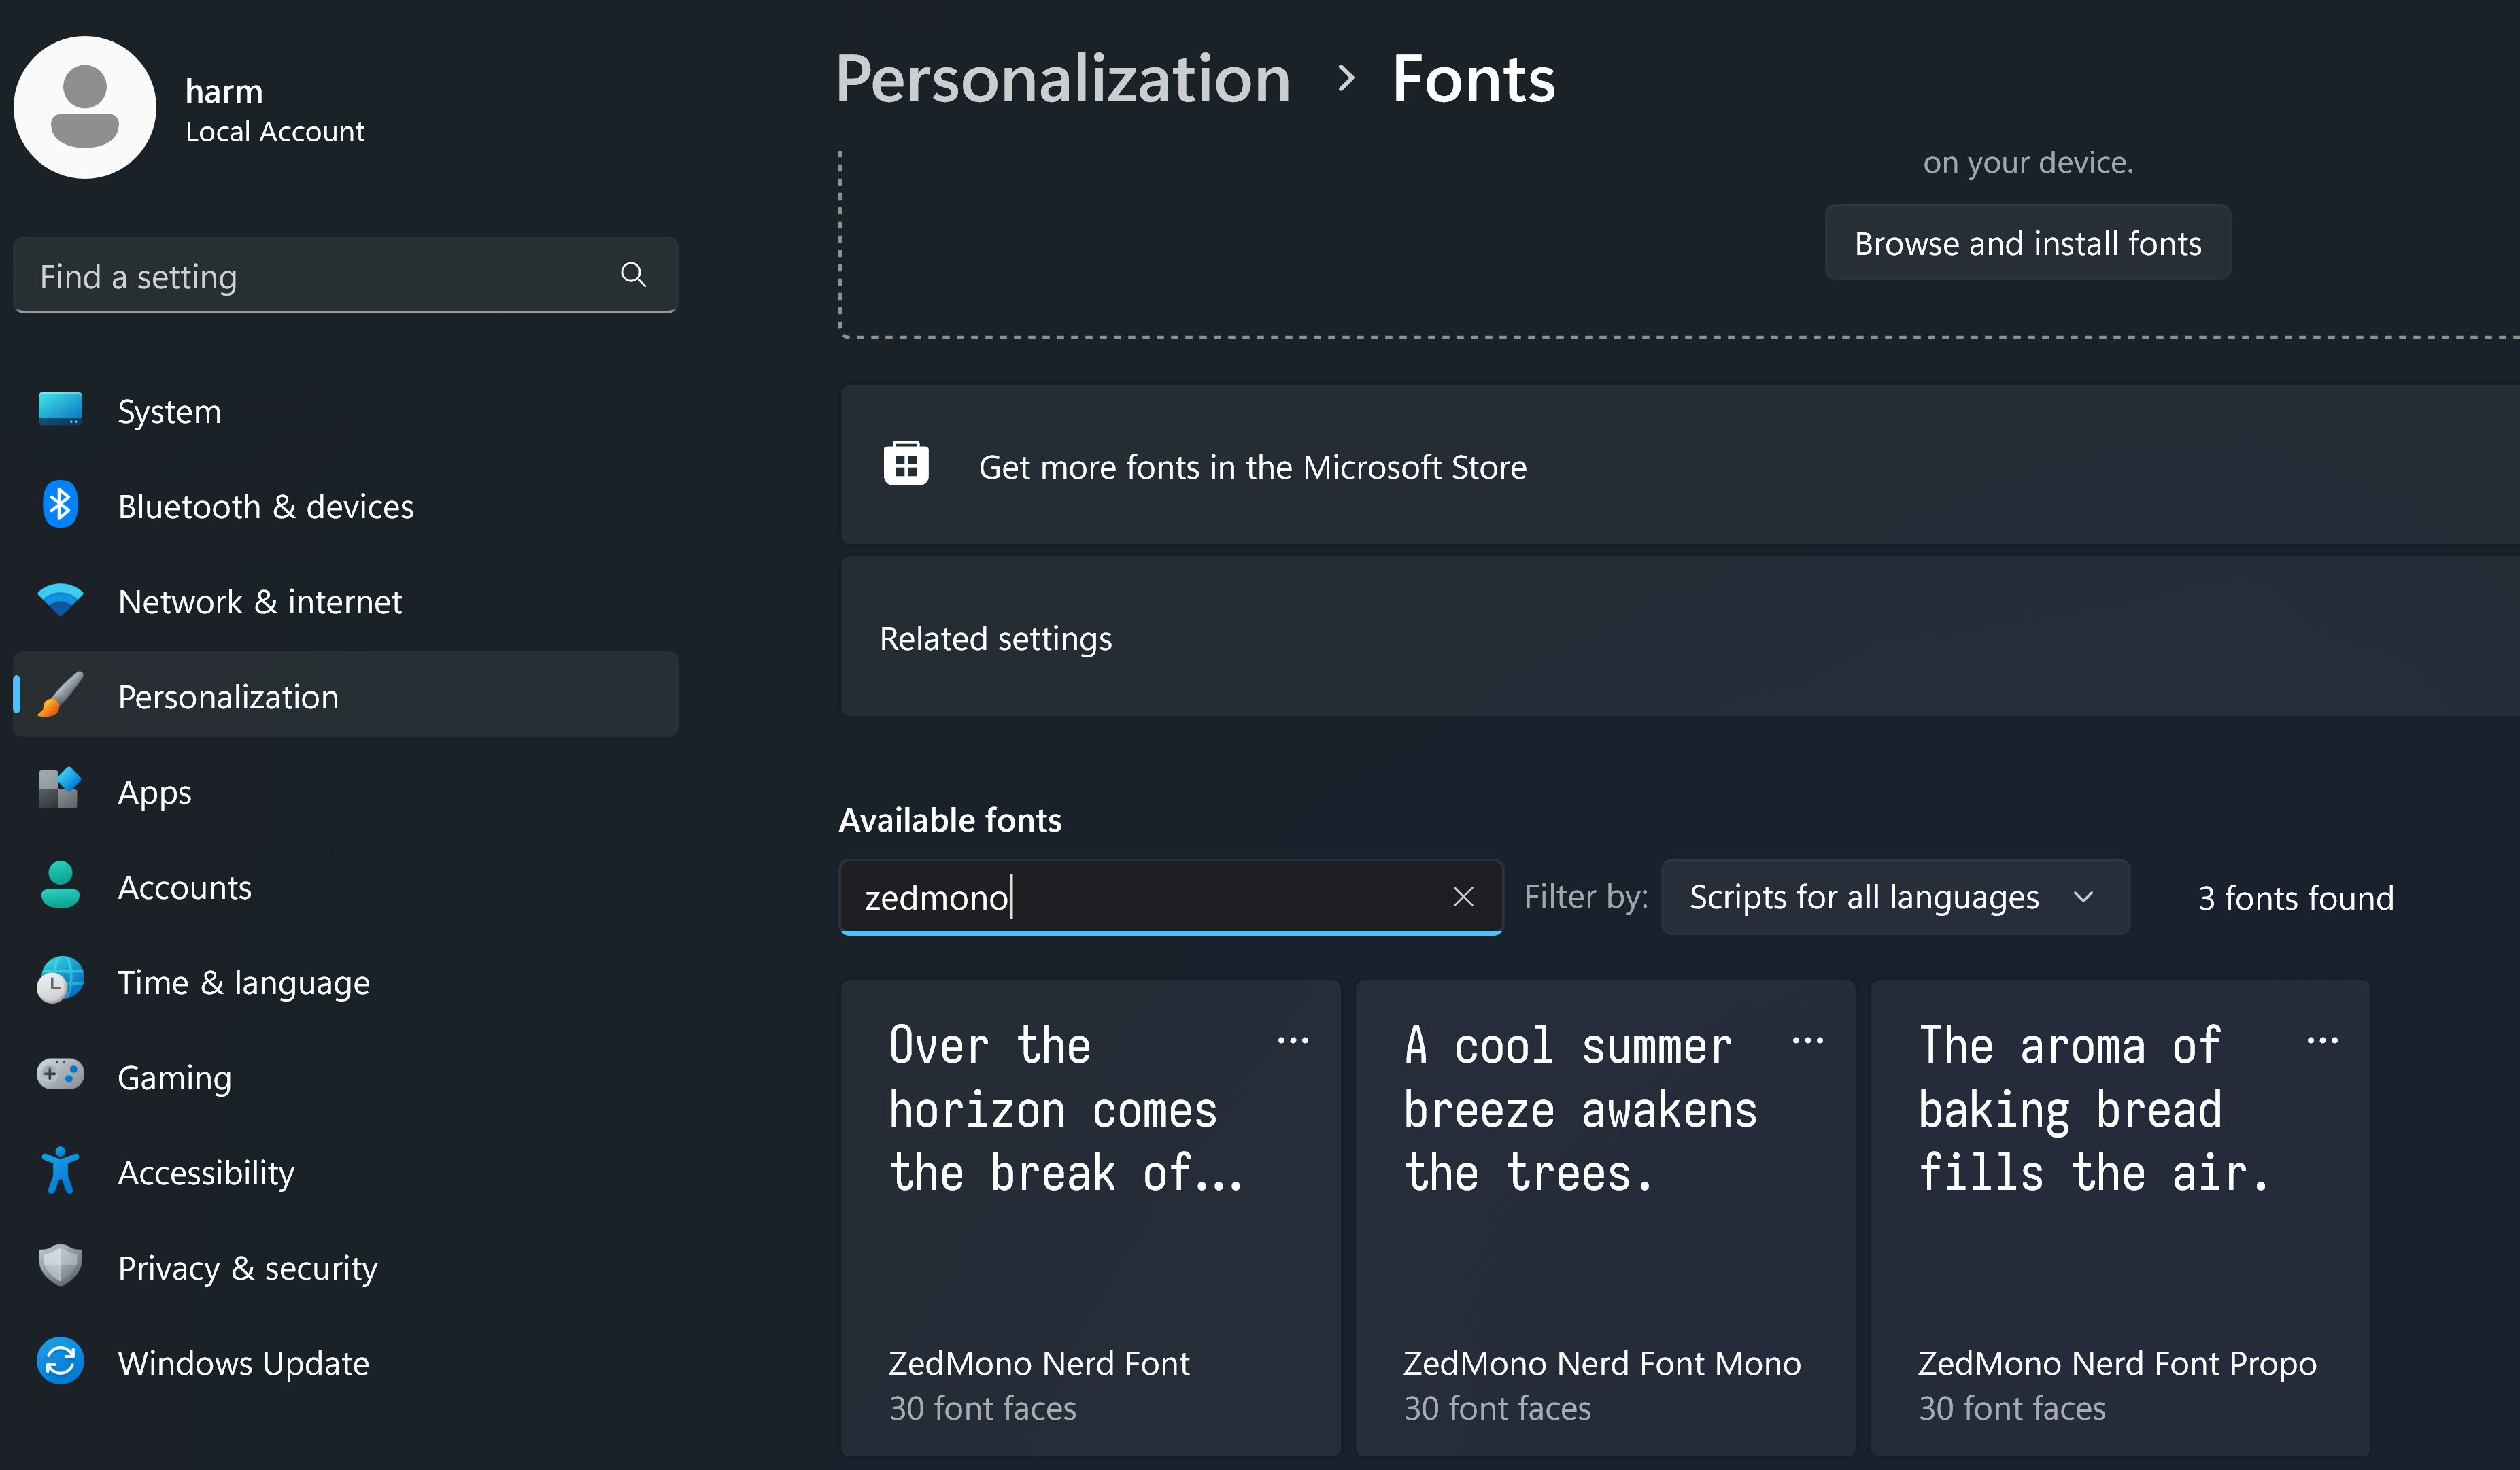
and ZedMono in Windows:
And if you want to go all out, then use the -All Parameter to install them all 🙂
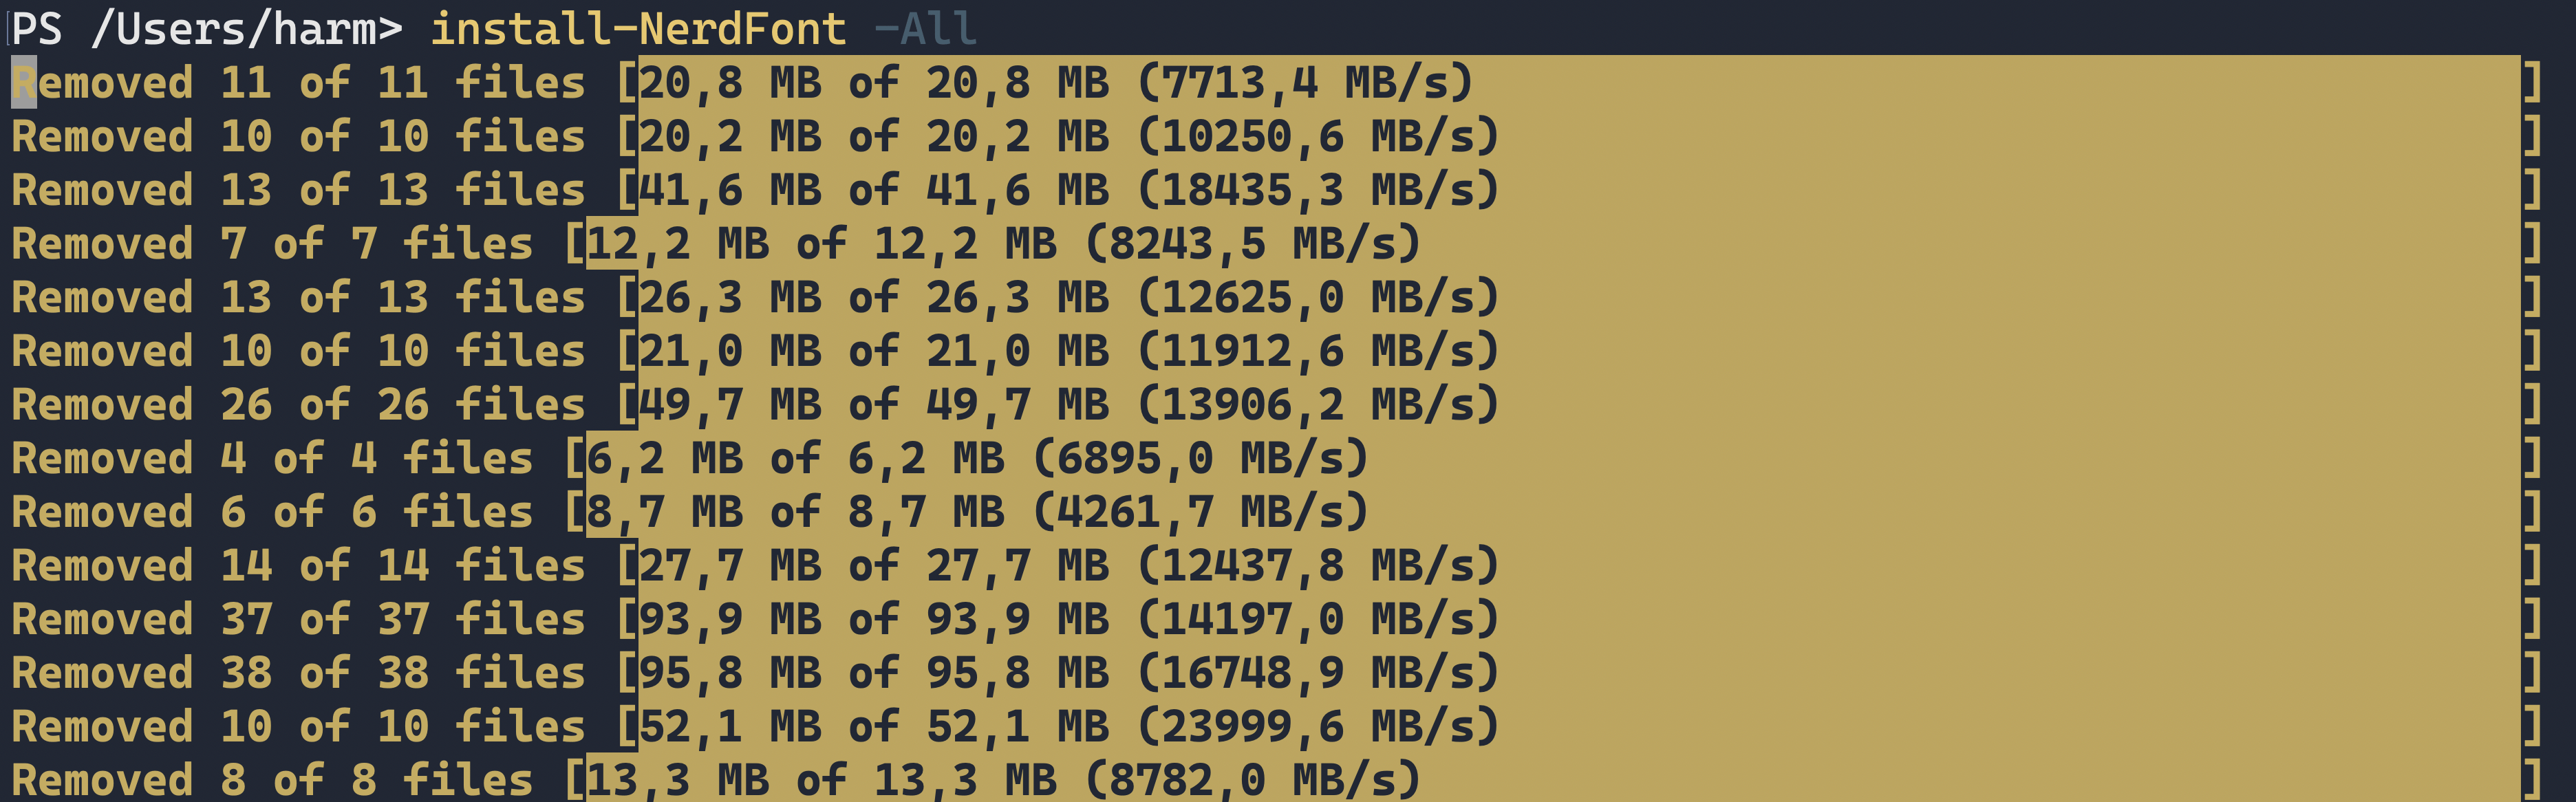
It will download, extract, install, and remove the zip files. This can take a while and will cost you some disk space 😉
Configuring applications to use NerdFonts
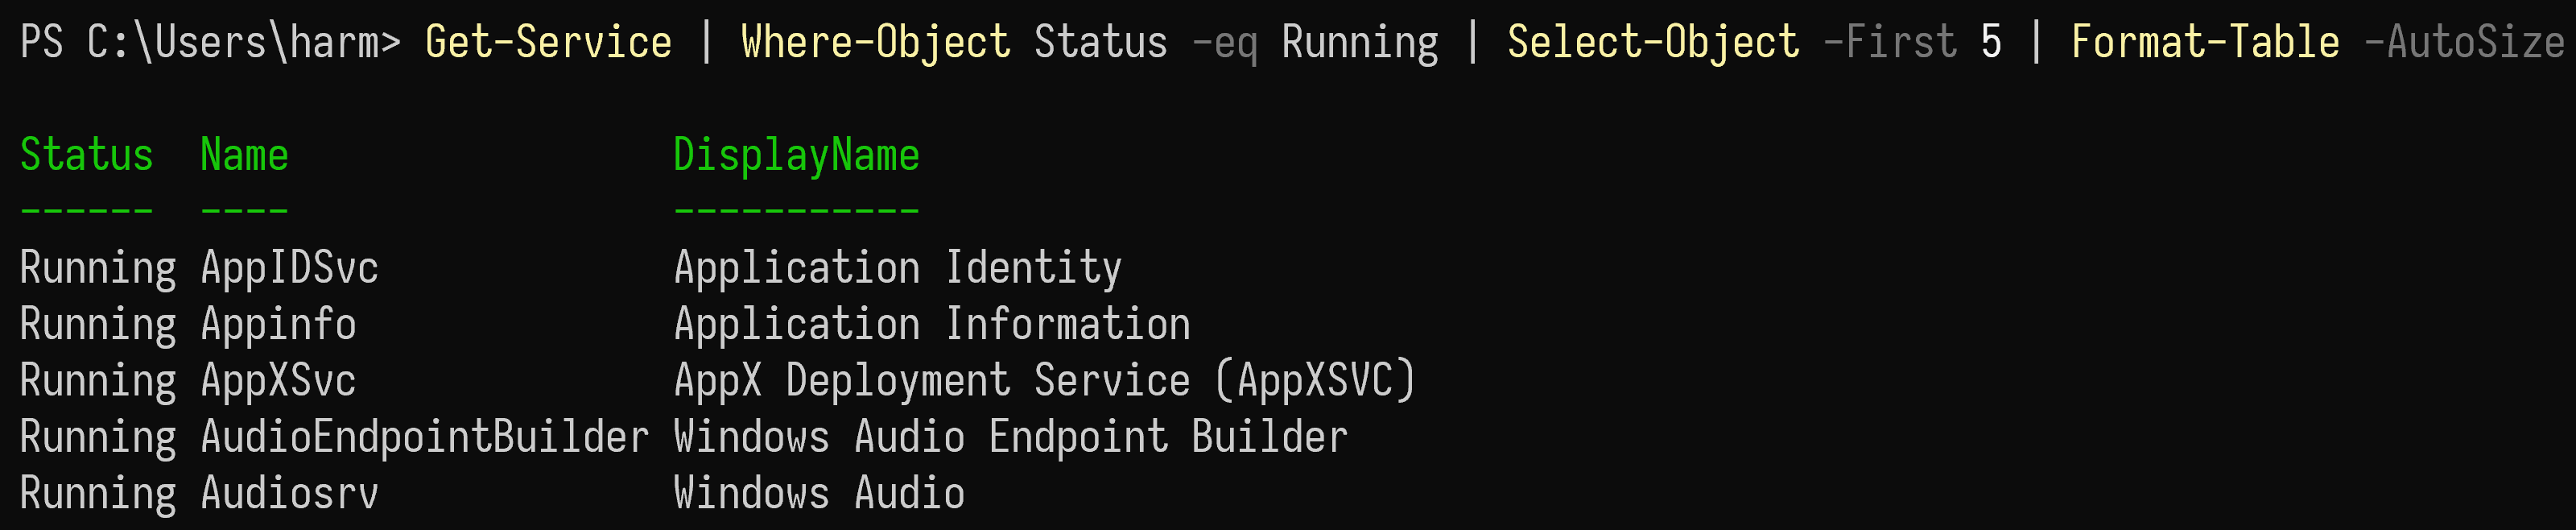
Now that you have added your NerdFonts, you can configure them in your applications, terminals, and other programs. For example, this is Windows Terminal with the default Font:

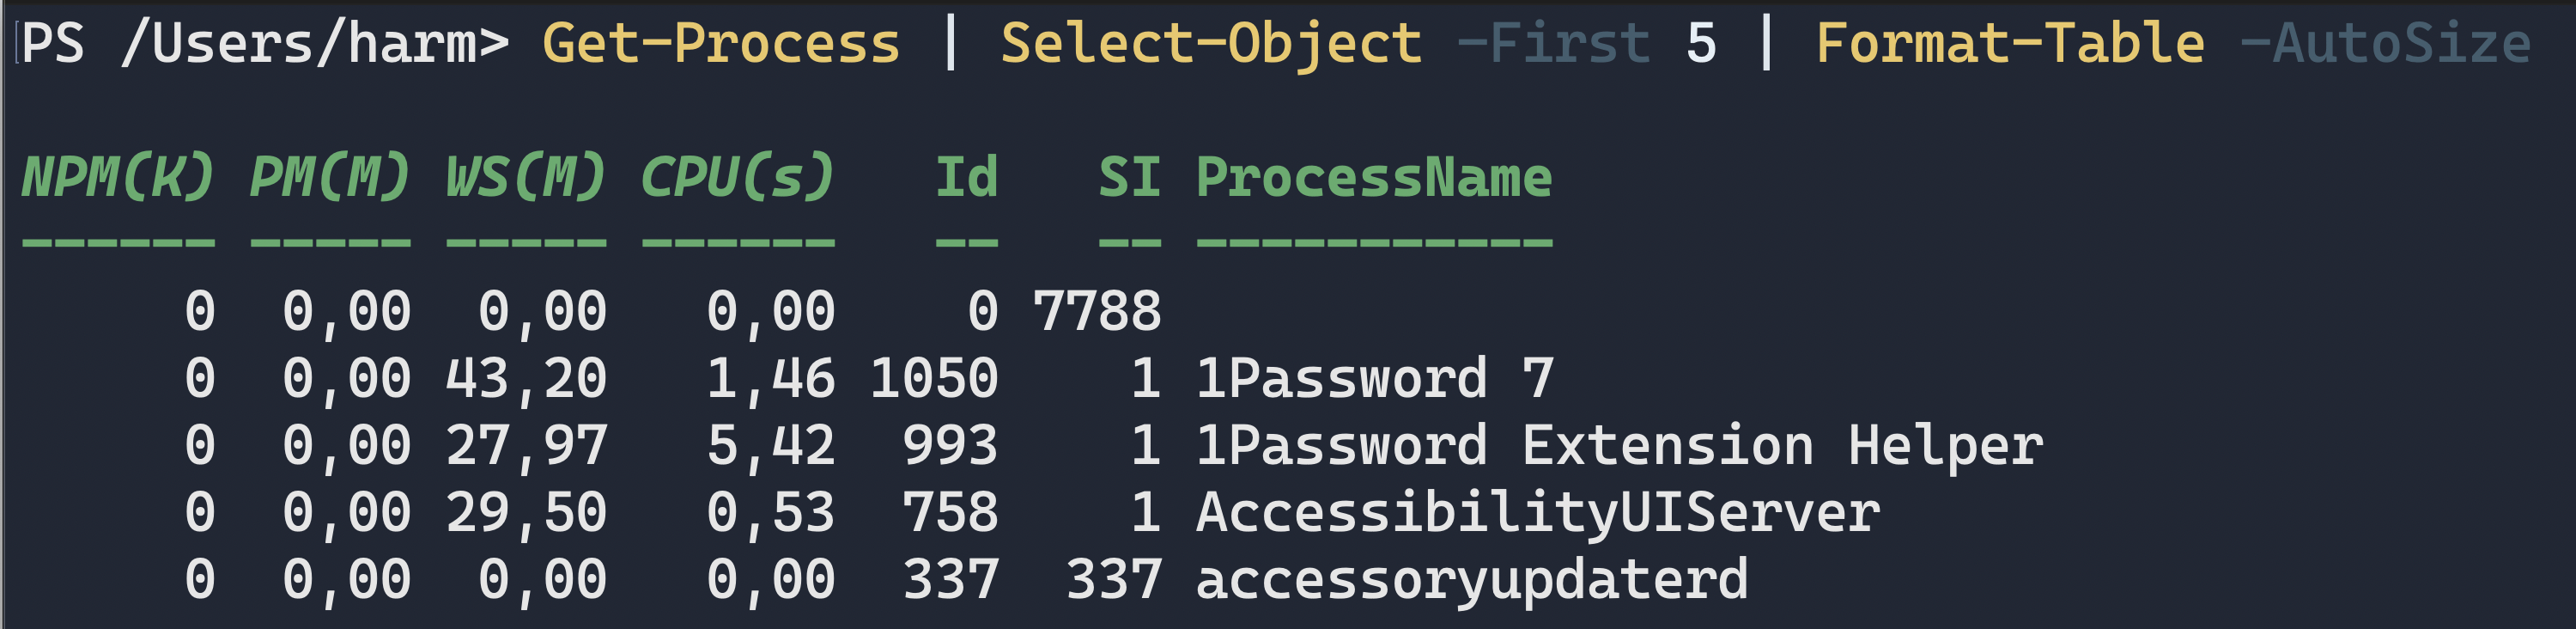
and now with ZedMono 🙂
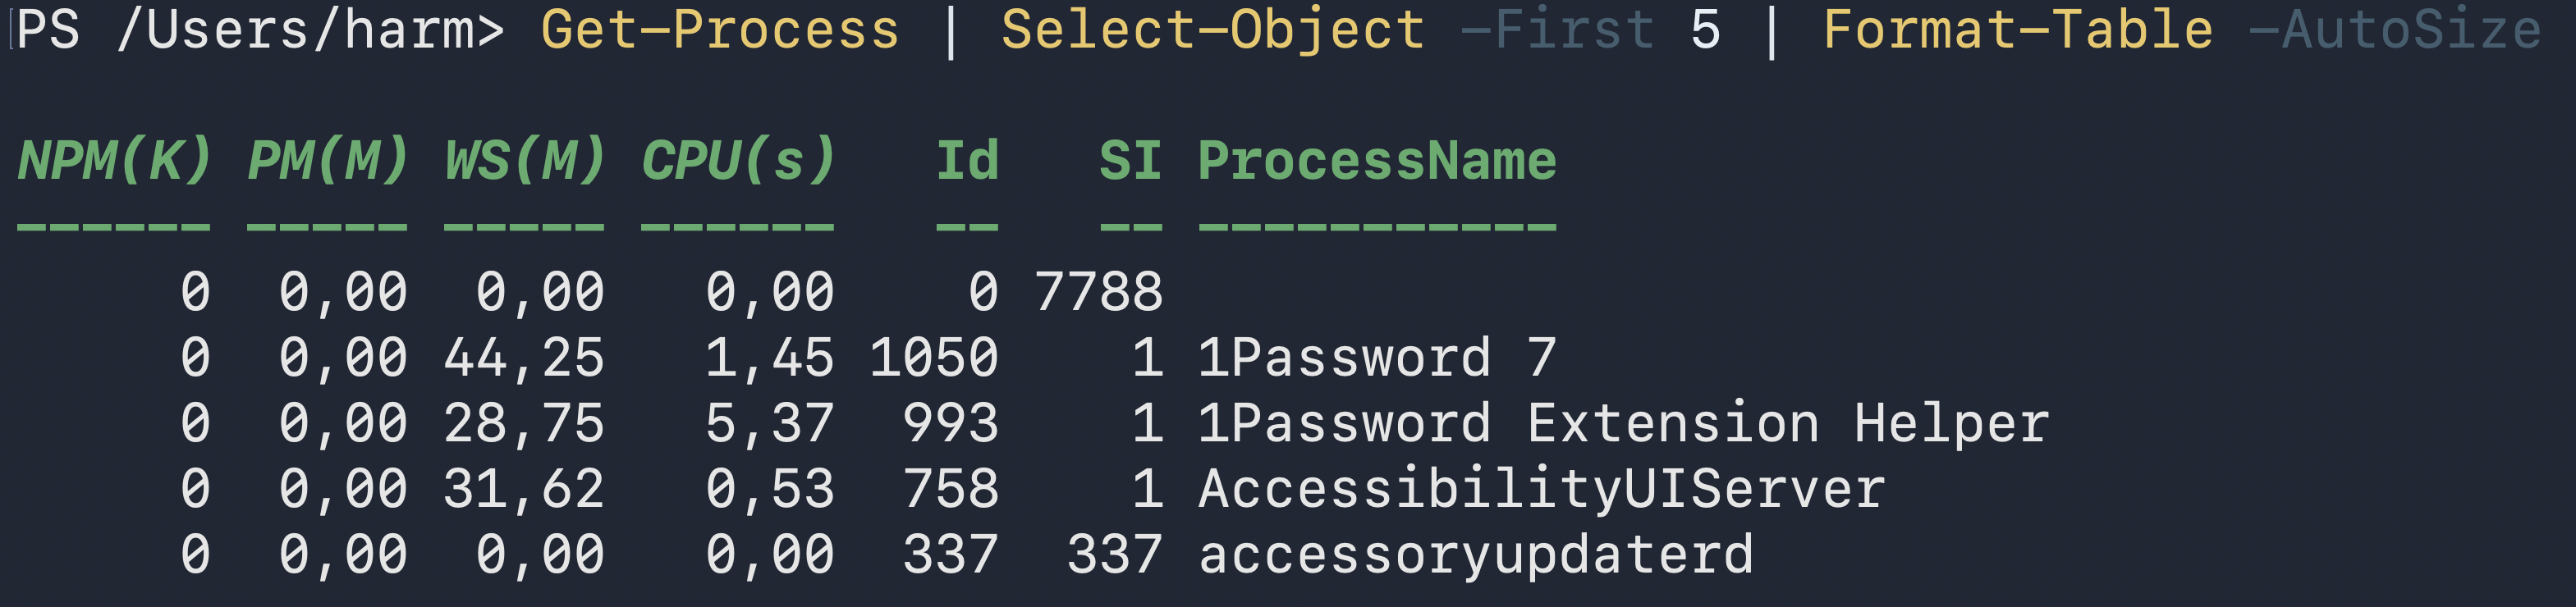
Or, in the macOS terminal with the default Font:
and now with CaskaydiaMon Nerd Font 🙂
But, like always, taste in Fonts differs from person to person, so install, test, compare until you find the one that you fall in love with 😀
Wrapping up
And that’s how you can easily download and install the NerdFonts that you like, much easier than downloading and feeding them to your Fonts app 😉 Have a lovely weekend!
2 thoughts on “Install Nerdfonts using PowerShell”