I use GitHub to store all my scripts and projects. In this blog post, I will show you how to create and use your GitHub repository.
What is GitHub?
“GitHub, Inc. is a platform and cloud-based service for software development and version control using Git, allowing developers to store and manage their code. It provides the distributed version control of Git plus access control, bug tracking, software feature requests, task management, continuous integration, and wikis for every project. Headquartered in California, it has been a subsidiary of Microsoft since 2018.”
Source: https://en.wikipedia.org/wiki/GitHub
Why should you use it?
It’s excellent for versioning your scripts. You can compare current and previous versions and do a roll-back if needed. You can share (like I do with my repository) from GitHub or use it as a script backup location.
How to create your GitHub repository
Register your account
Below are the steps for registering your account:
- Go to https://github.com/
- Select Sign up for GitHub
- Enter your email address and select Continue
- Enter a password and select Continue (You might see a Password may be compromised warning if the password is commonly used on other websites)
- Enter a username and select Continue (Must be unique. It will show a warning message if the username is not available / already taken)
- Type Y or N to receive product updates and announcements and select Continue
- Complete the puzzle by selecting Start puzzle.
- After completing the puzzle, choose Create account.
- Check your email for the launch code and enter the code to continue (It could take up to a few minutes)
- Answer the questions about how many team members will be working with you and (You don’t have to answer the Student or Teacher question) what features you want to use and if you wish to use the free or Team plan. (I choose the free plan, you can always upgrade later)
Create your first Repository
After you register your account, you can create your repository by following these steps:
- From the Github.com start page, select Create Repository on the left
- Enter a name in the Repository Name Field. PowerShell, for example.
- Enter a Description. PowerShell scripts, for example
- Select Public or Private. I would suggest using Private to play around first, or if your scripts shouldn’t be publicly available for everyone.
- Select the checkbox Add a README file (This will be the first file in your repository. It will contain your repository name and the description from the steps before)
- Select Create repository
And your repository is created!

Using your repository
Syncing it to your workstation
You can use a Remote Repository in Visual Studio Code or sync it to your workstation for easy access. I use the GitHub desktop app for that. To use it, follow these steps: (Based on the Windows installer, don’t have a Mac 😉 )
- Go to GitHub Desktop | Simple collaboration from your desktop and download it
- Start the installer and select Sign in to GitHub.com
- Select Authorize desktop
- Select Always allow github.com to open links of this type in the associated app and Open.
- Select Use my Githyb account name and email address and Finish.
- Select your repository in the Your Repositories pane and select Clone…
- Select Choose and browse to the desired location for your local copy. C:\Data\GitHub, for example. (The selected local path is the base folder, the repository name will be appended to it, C:\Data\GitHub\PowerShell in my example).
- Select Clone to download your repository to the selected location
- Press Show in Explorer to view your files:

Visual Studio Code
If you have never used Git in Visual Studio Code, you can follow these steps: (you will have to do this only once )
- Select Source Control (Or Ctrl-Shift-G)

- Select Download Git for Windows
- Select Open to allow Visual Studio Code to open the external website https://git-scm.com/download/win
- Select 64-bit Git for Windows Setup and start the installation.
- Select Next and Next
- Select your components to be installed and select Next
- Select Next and Next
- Select your editor of choice (I choose Visual Studio Code)

- Select Next ten more times and use the Defaults or select personal preferences if needed 🙂
- Deselect View Release Notes and Finish to complete the Git Setup Wizard
- Switch back to Visual Studio Code and select reload to restart Visual Studio Code
- Select Open Folder and browse to your locally cloned Repository folder (C:\Data\GitHub\PowerShell in my example) and select Select Folder
- Select the checkbox Trust the authors of all files in the parent folder ‘GitHub’ and select Yes, I trust the authors

You should now see this in the Explorer pane:

Editing and saving files
When you edit a file and save it, you should see a notification in the Source Control pane indicating that there was a changed file:

It will show the file and its change (Red and Green). You can review it and enter a message with the reason for the change and select Commit and Sync

It will prompt you to stage the changes and commit them directory, and you can select Always so that it will commit the changes directly to your repository.

The first time you commit a file, Visual Studio Code will prompt you to sign in to GitHub. Select Sign in with your browser

- Select Authorize git-ecosystem:

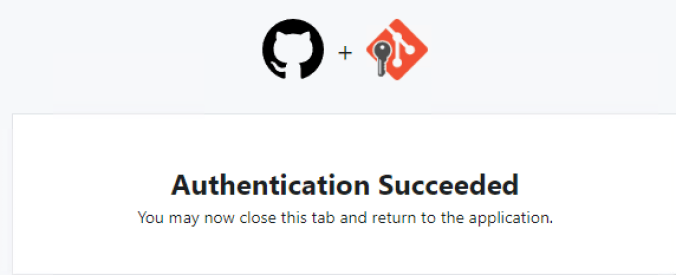
Close your browser tab:

Visual Studio Code will prompt you if you would like to run git fetch periodically. Select Yes or No (Personal preference, I choose Yes because I use multiple systems)

Now you are all set to edit/update your scripts in Visual Studio Code and commit those to your own GitHub repository for versioning. Enjoy 🙂
Note: This is a very basic how-to for using GitHub. For more information, follow this link.